Fixing an Xbox controller is quite an easy and cheap repair job. So before buying a new one it is totally worth a shot to try to repair it yourself. I am going to replace the LB button, but fixing stick drift by either cleaning the washers or exchanging the whole unit is also possible. Maybe you accidentally got sugary liquids into your controller, you might want to give it a proper clean job.
Although my faulty controller was a rev. 1 Xbox One controller, this guide also applies for the later Bluetooth enabled rev. 2 controllers as well as the Xbox Series S/X controllers, as they are very similar. And they use the exact same tactile buttons, which can be found on eBay / AliExpress for a few cents.
I got mine here, but a search query like „LB/RB Shoulder Button Xbox One Controller“ should lead you somewhere useful on any shop.
You’ll also nee the following tools:
- Plastic Opening Tool / Pry tool
- T8 screwdriver (for the outer screws)
- T6 screwdriver (for the inner screws)
- Soldering Iron
- De-soldering wick / De-soldering pump
I bought this kit, although I didn’t need the bumper bars (for rev. 2 controllers)
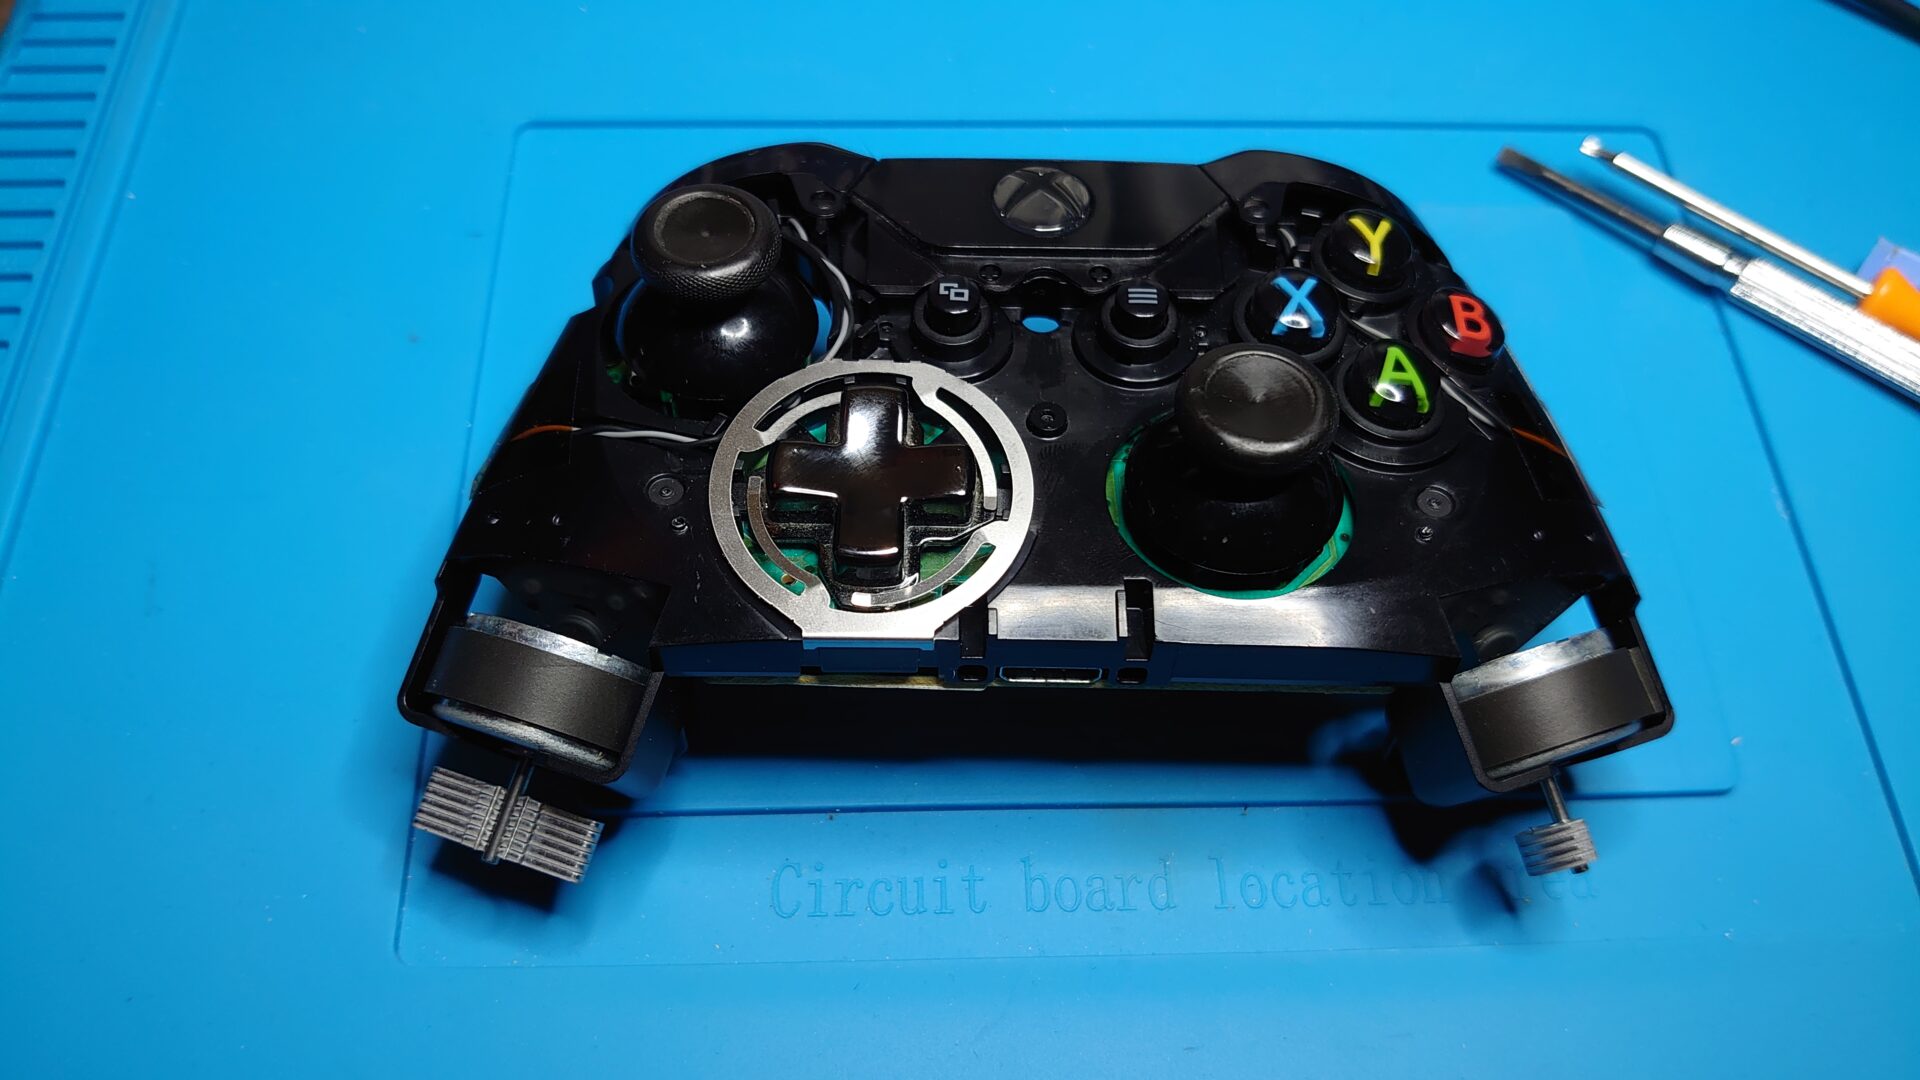
Disassemble the controller
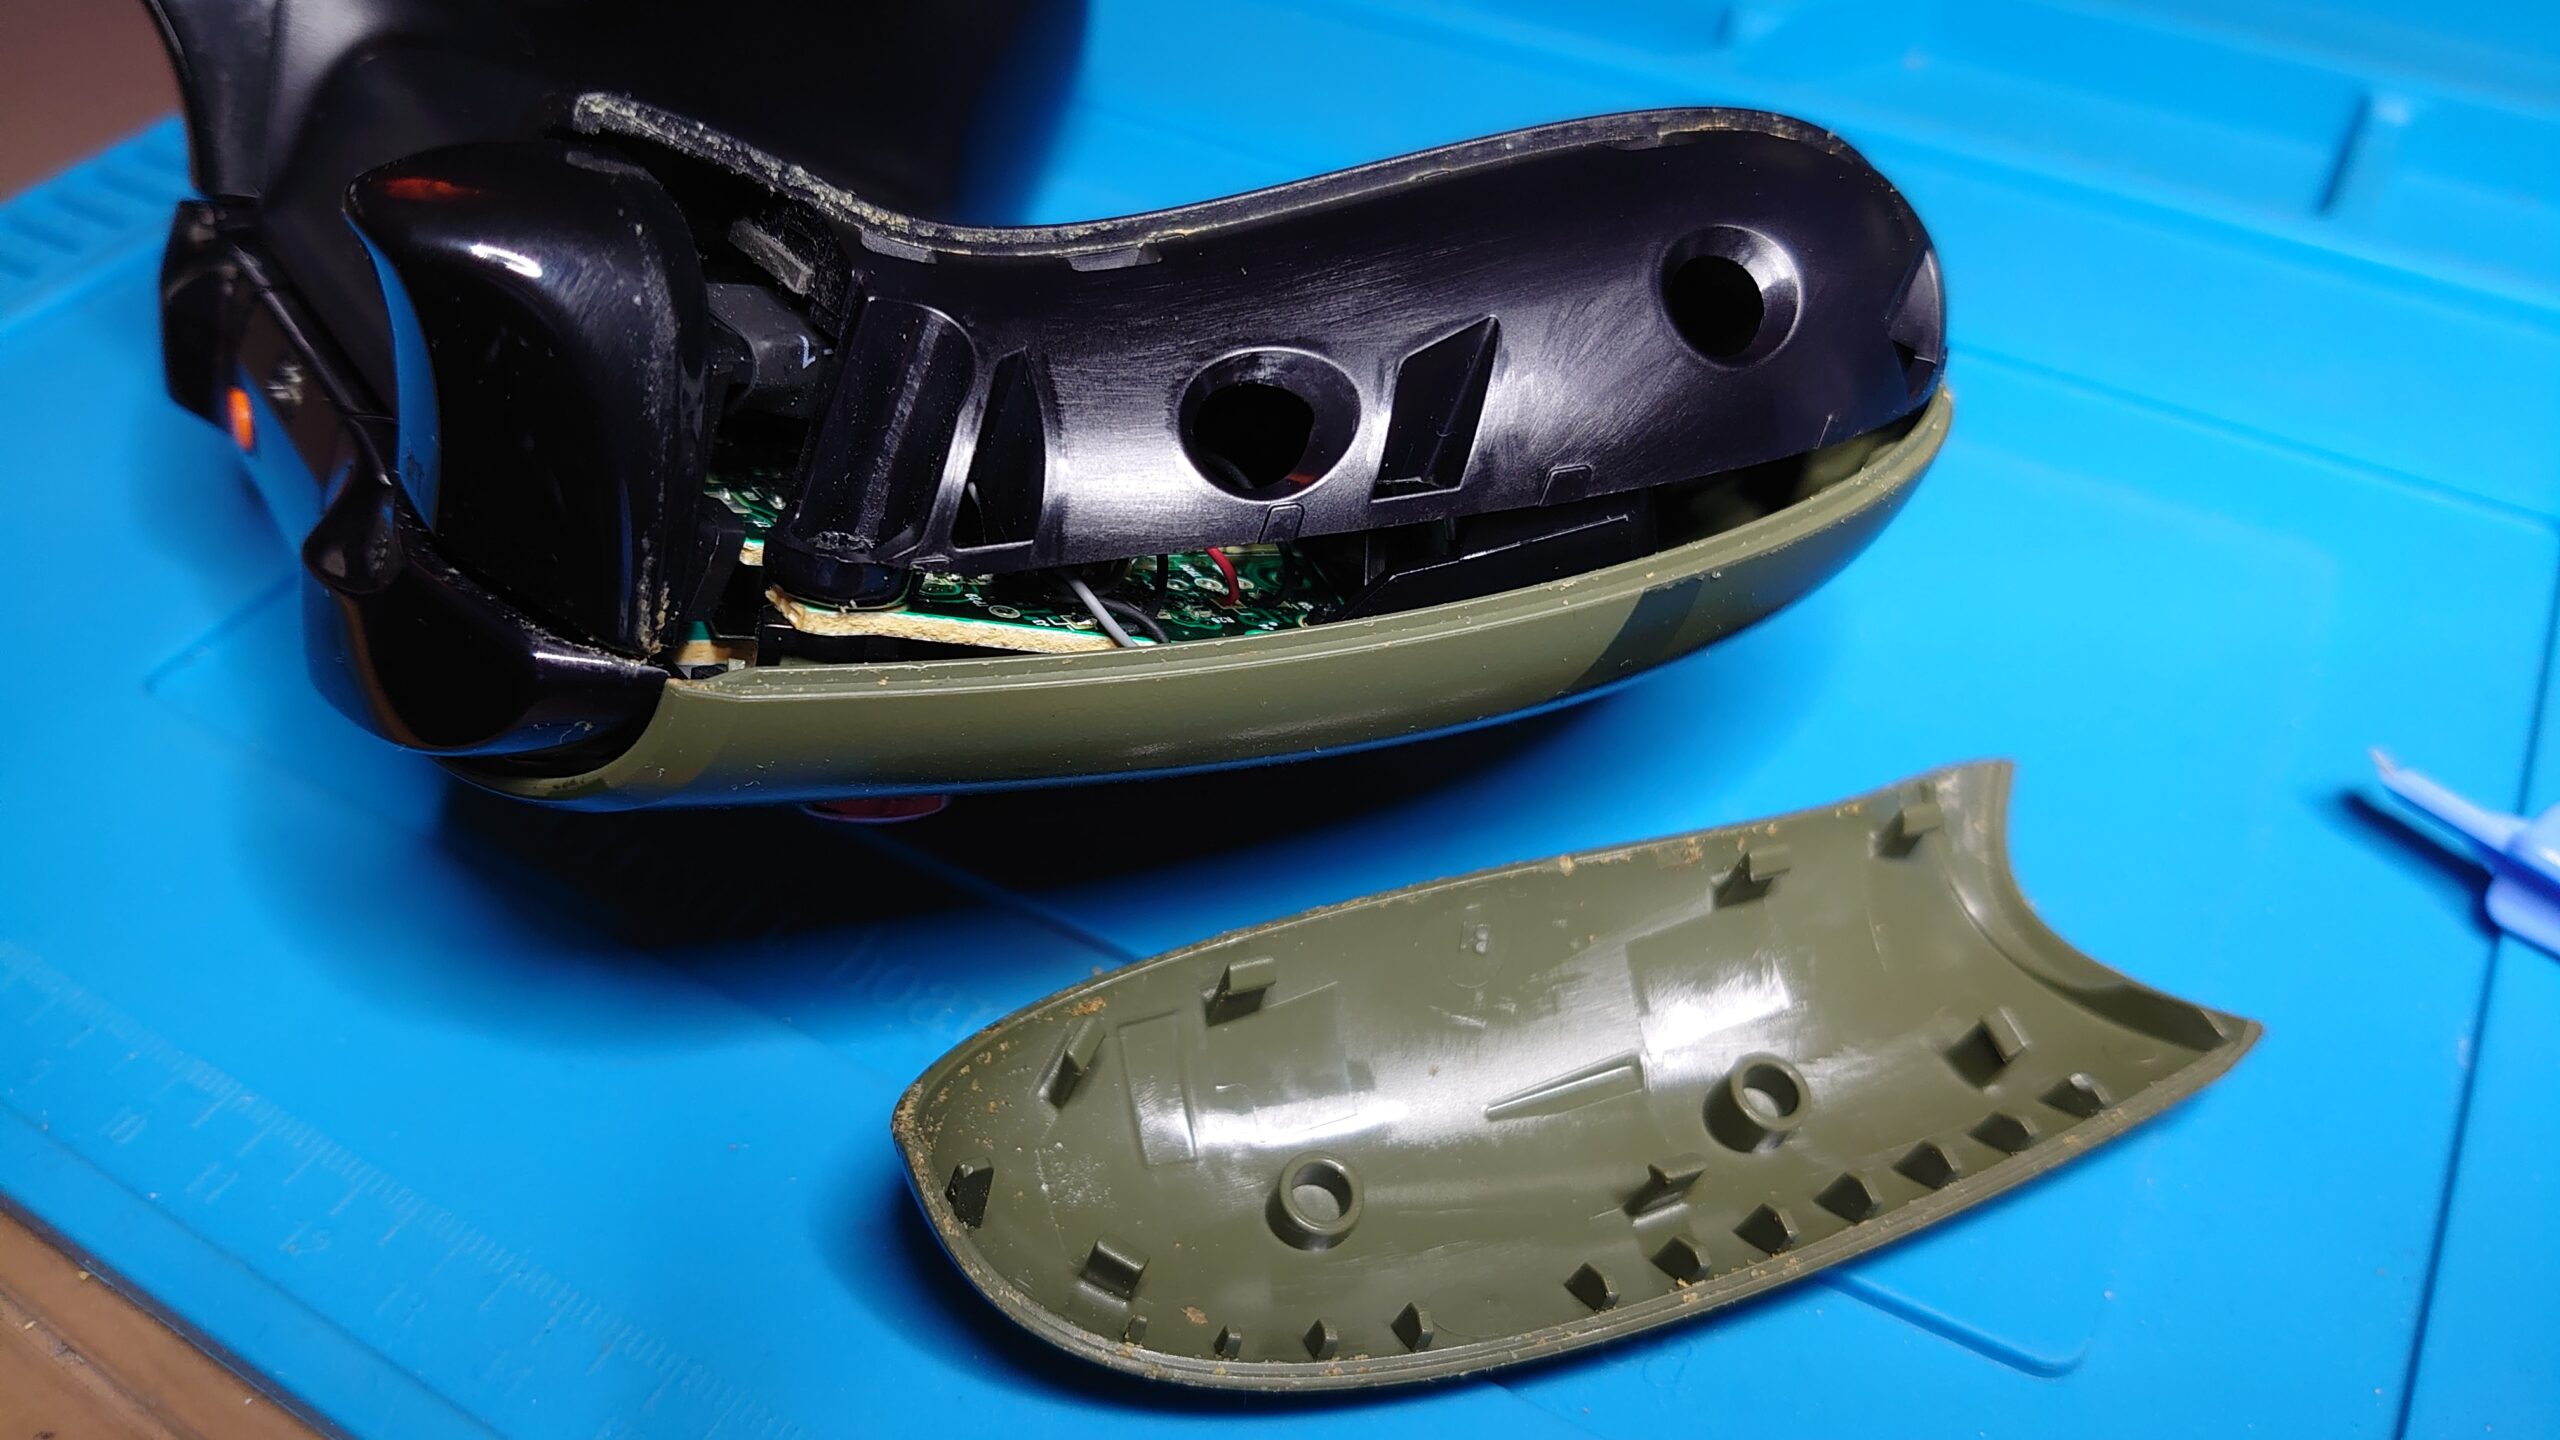
First you have to get access to the screws. To get there you have to use a pry tool to gently remove the plastic caps on the backside of the grips.

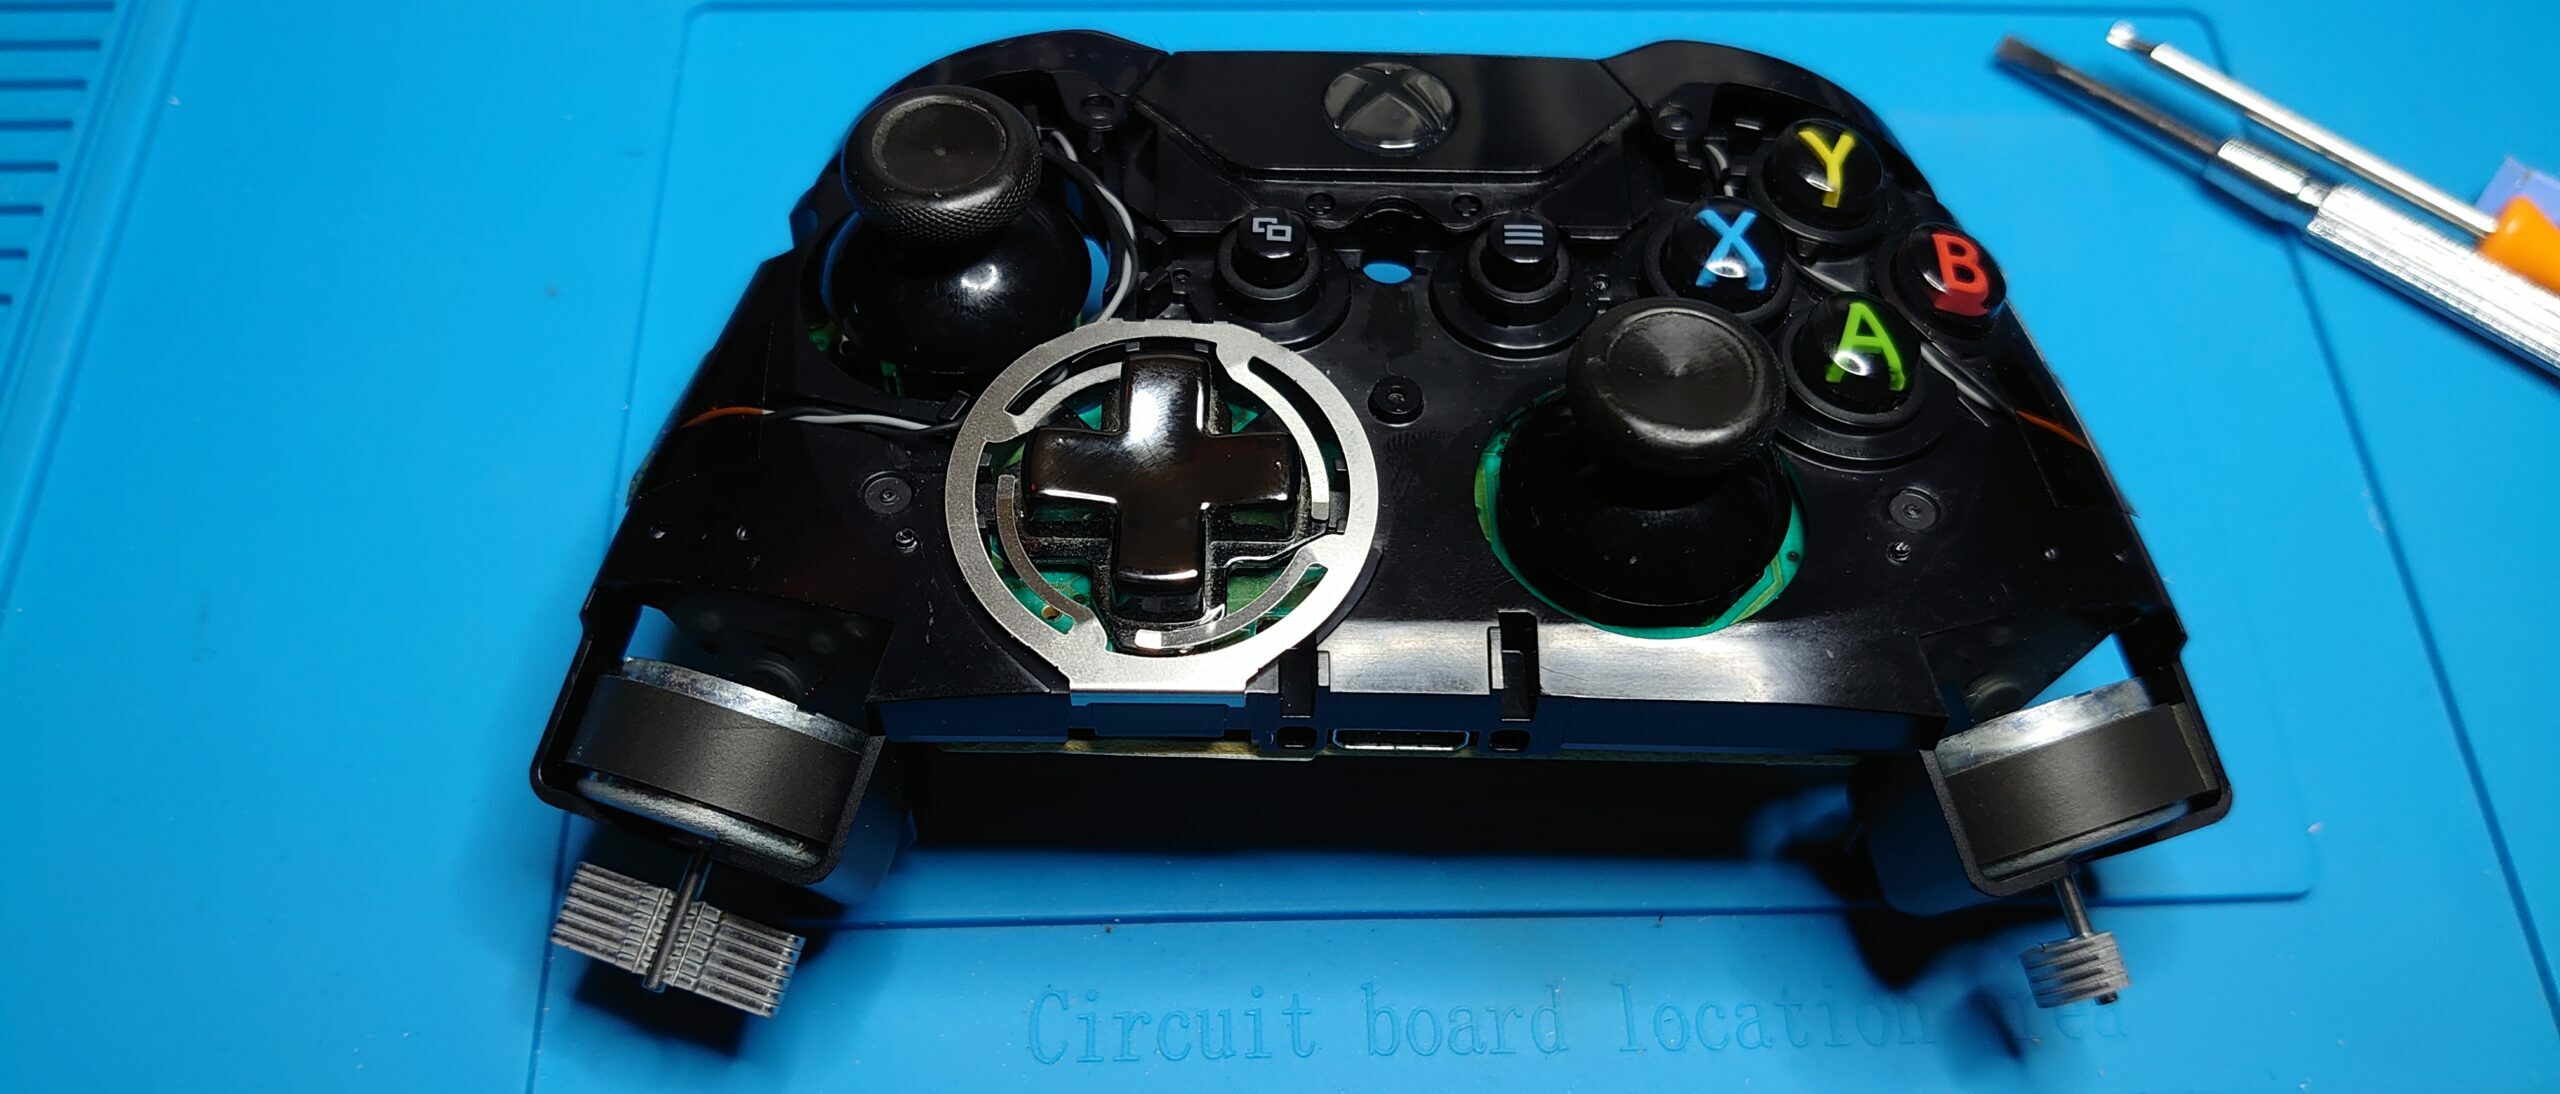
Once you got the outer shells removed there is no more need to pry yourself into the controller. Only a few Torx screws from here on.
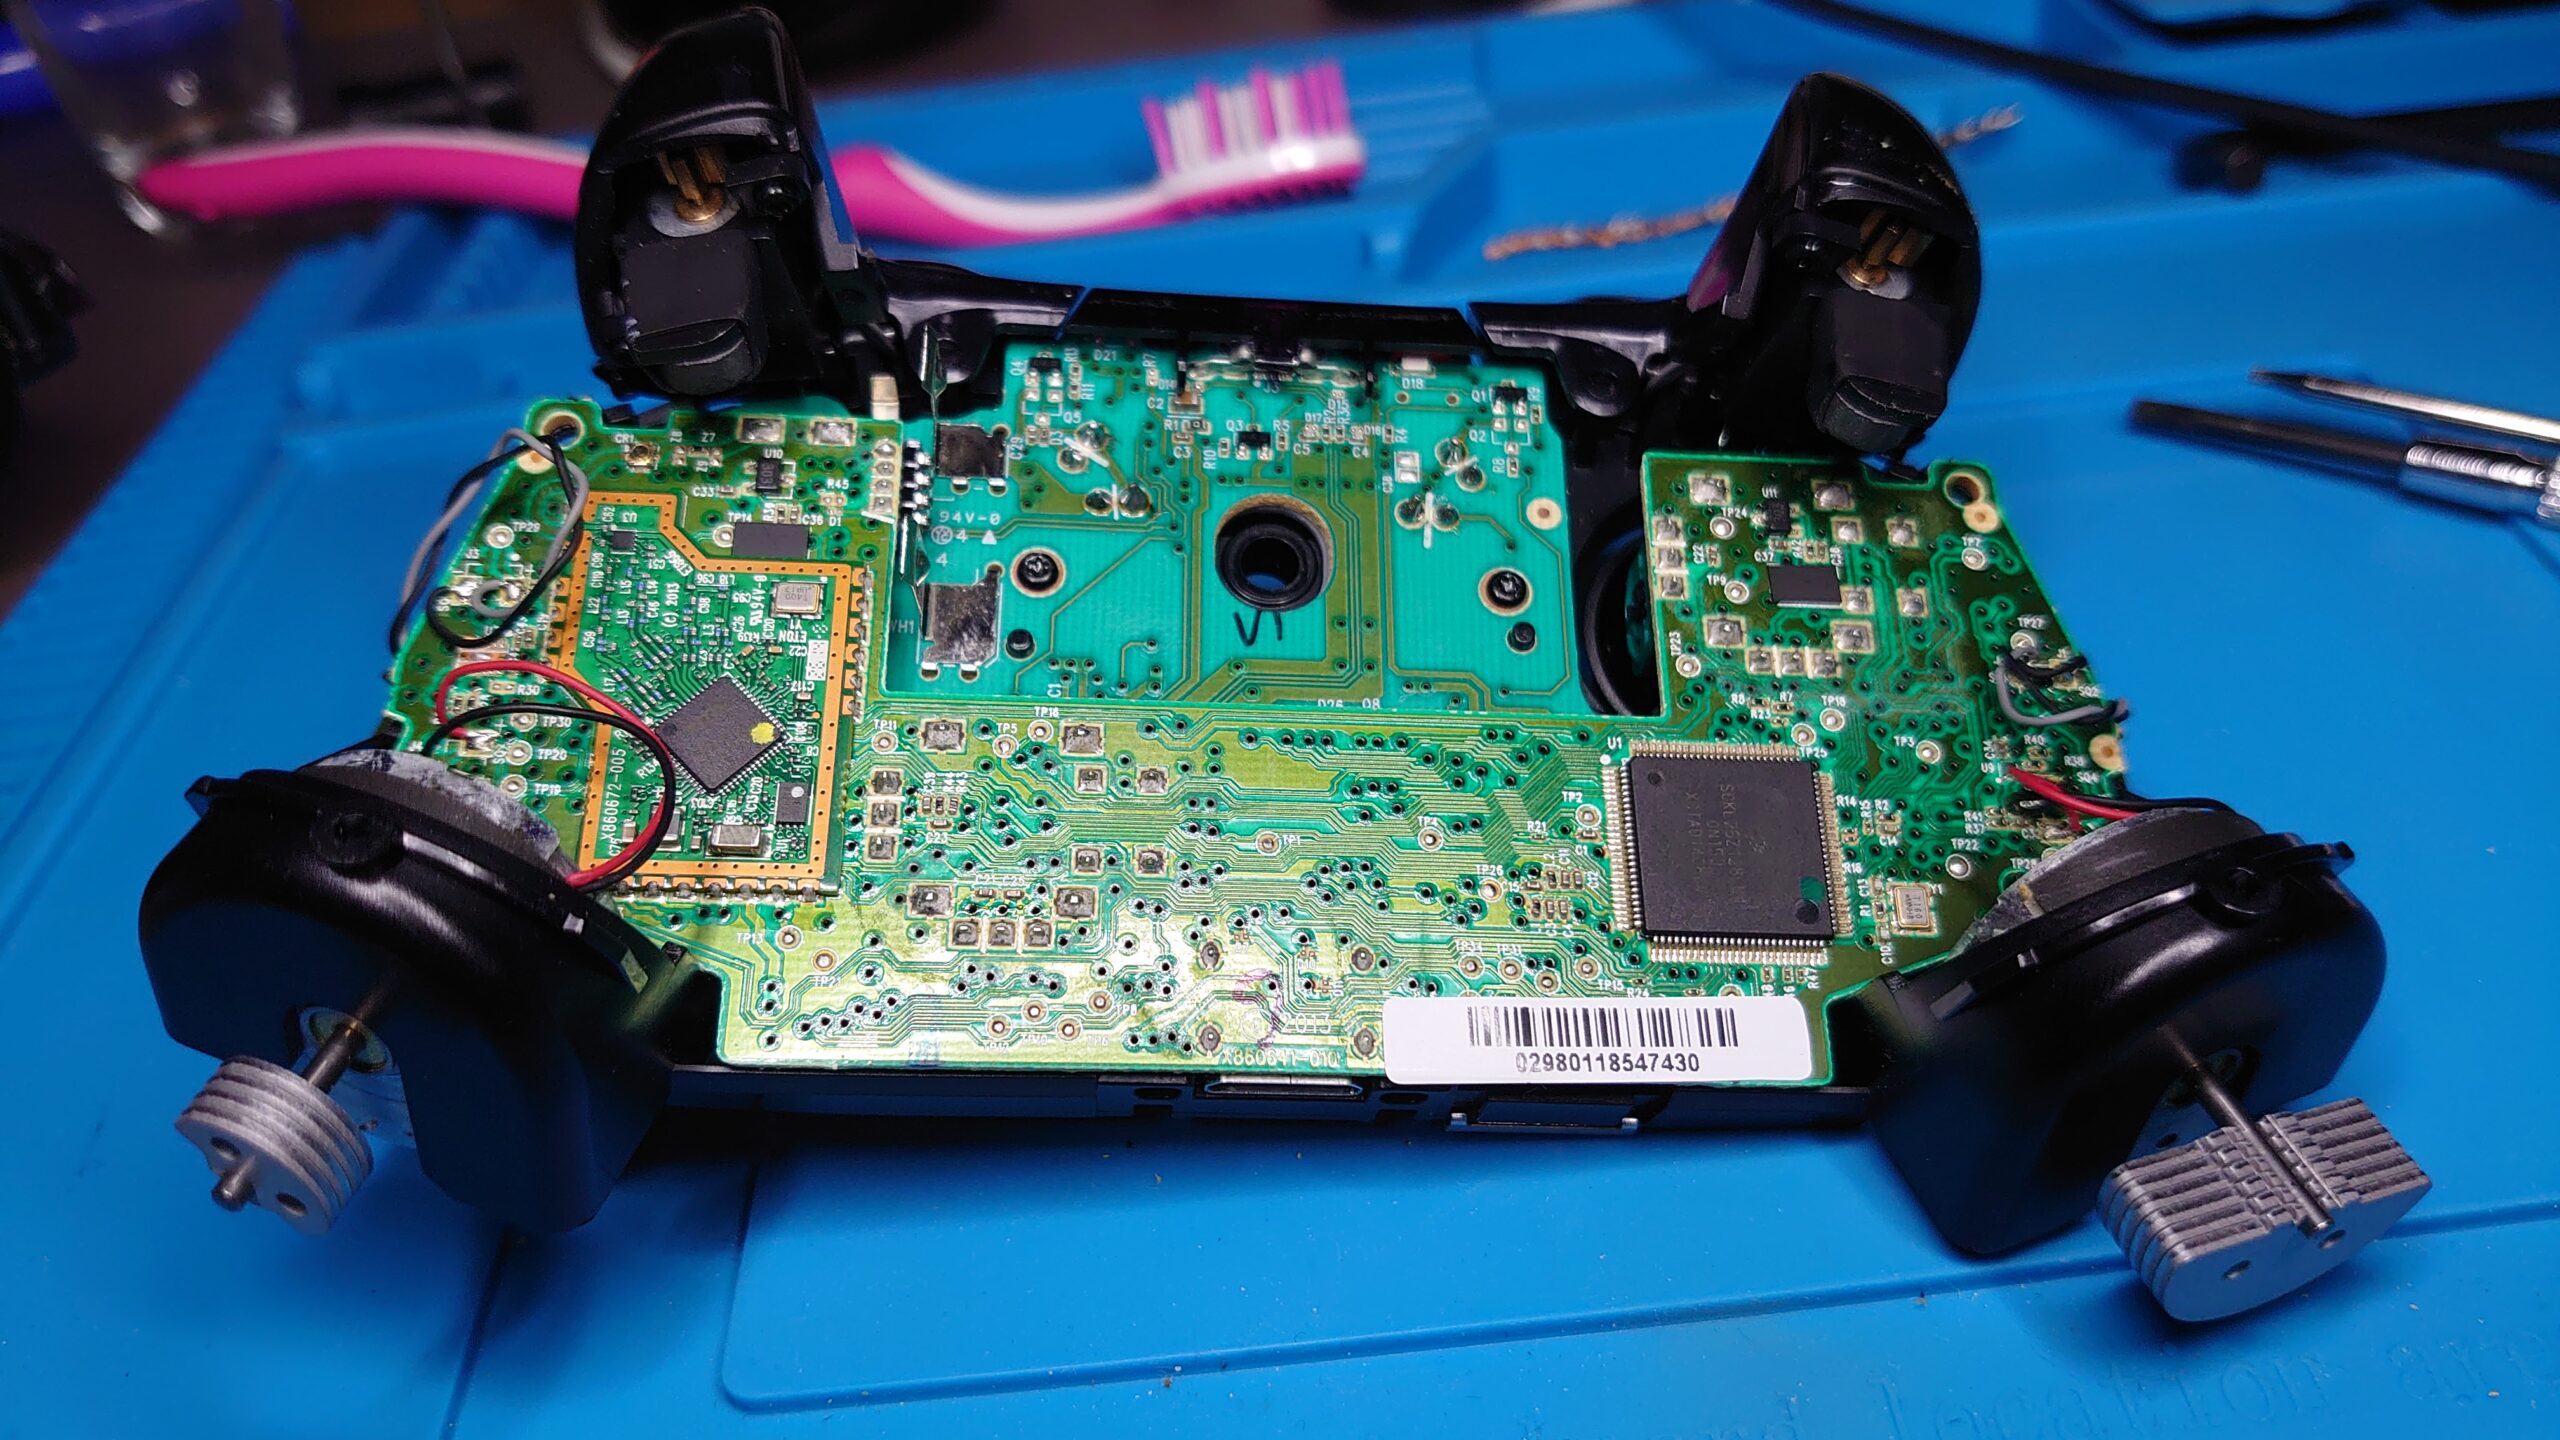
Get the controller’s logic board out the way
The bumper buttons are on the 2nd board, the one further in. Therefore the logic board has to go. But there are antenna cables soldered to it. You can desolder them (take a picture of the solder joints before!), but you don“t have to. I managed to get the 2nd board out with all the wires still attached to the logic board.
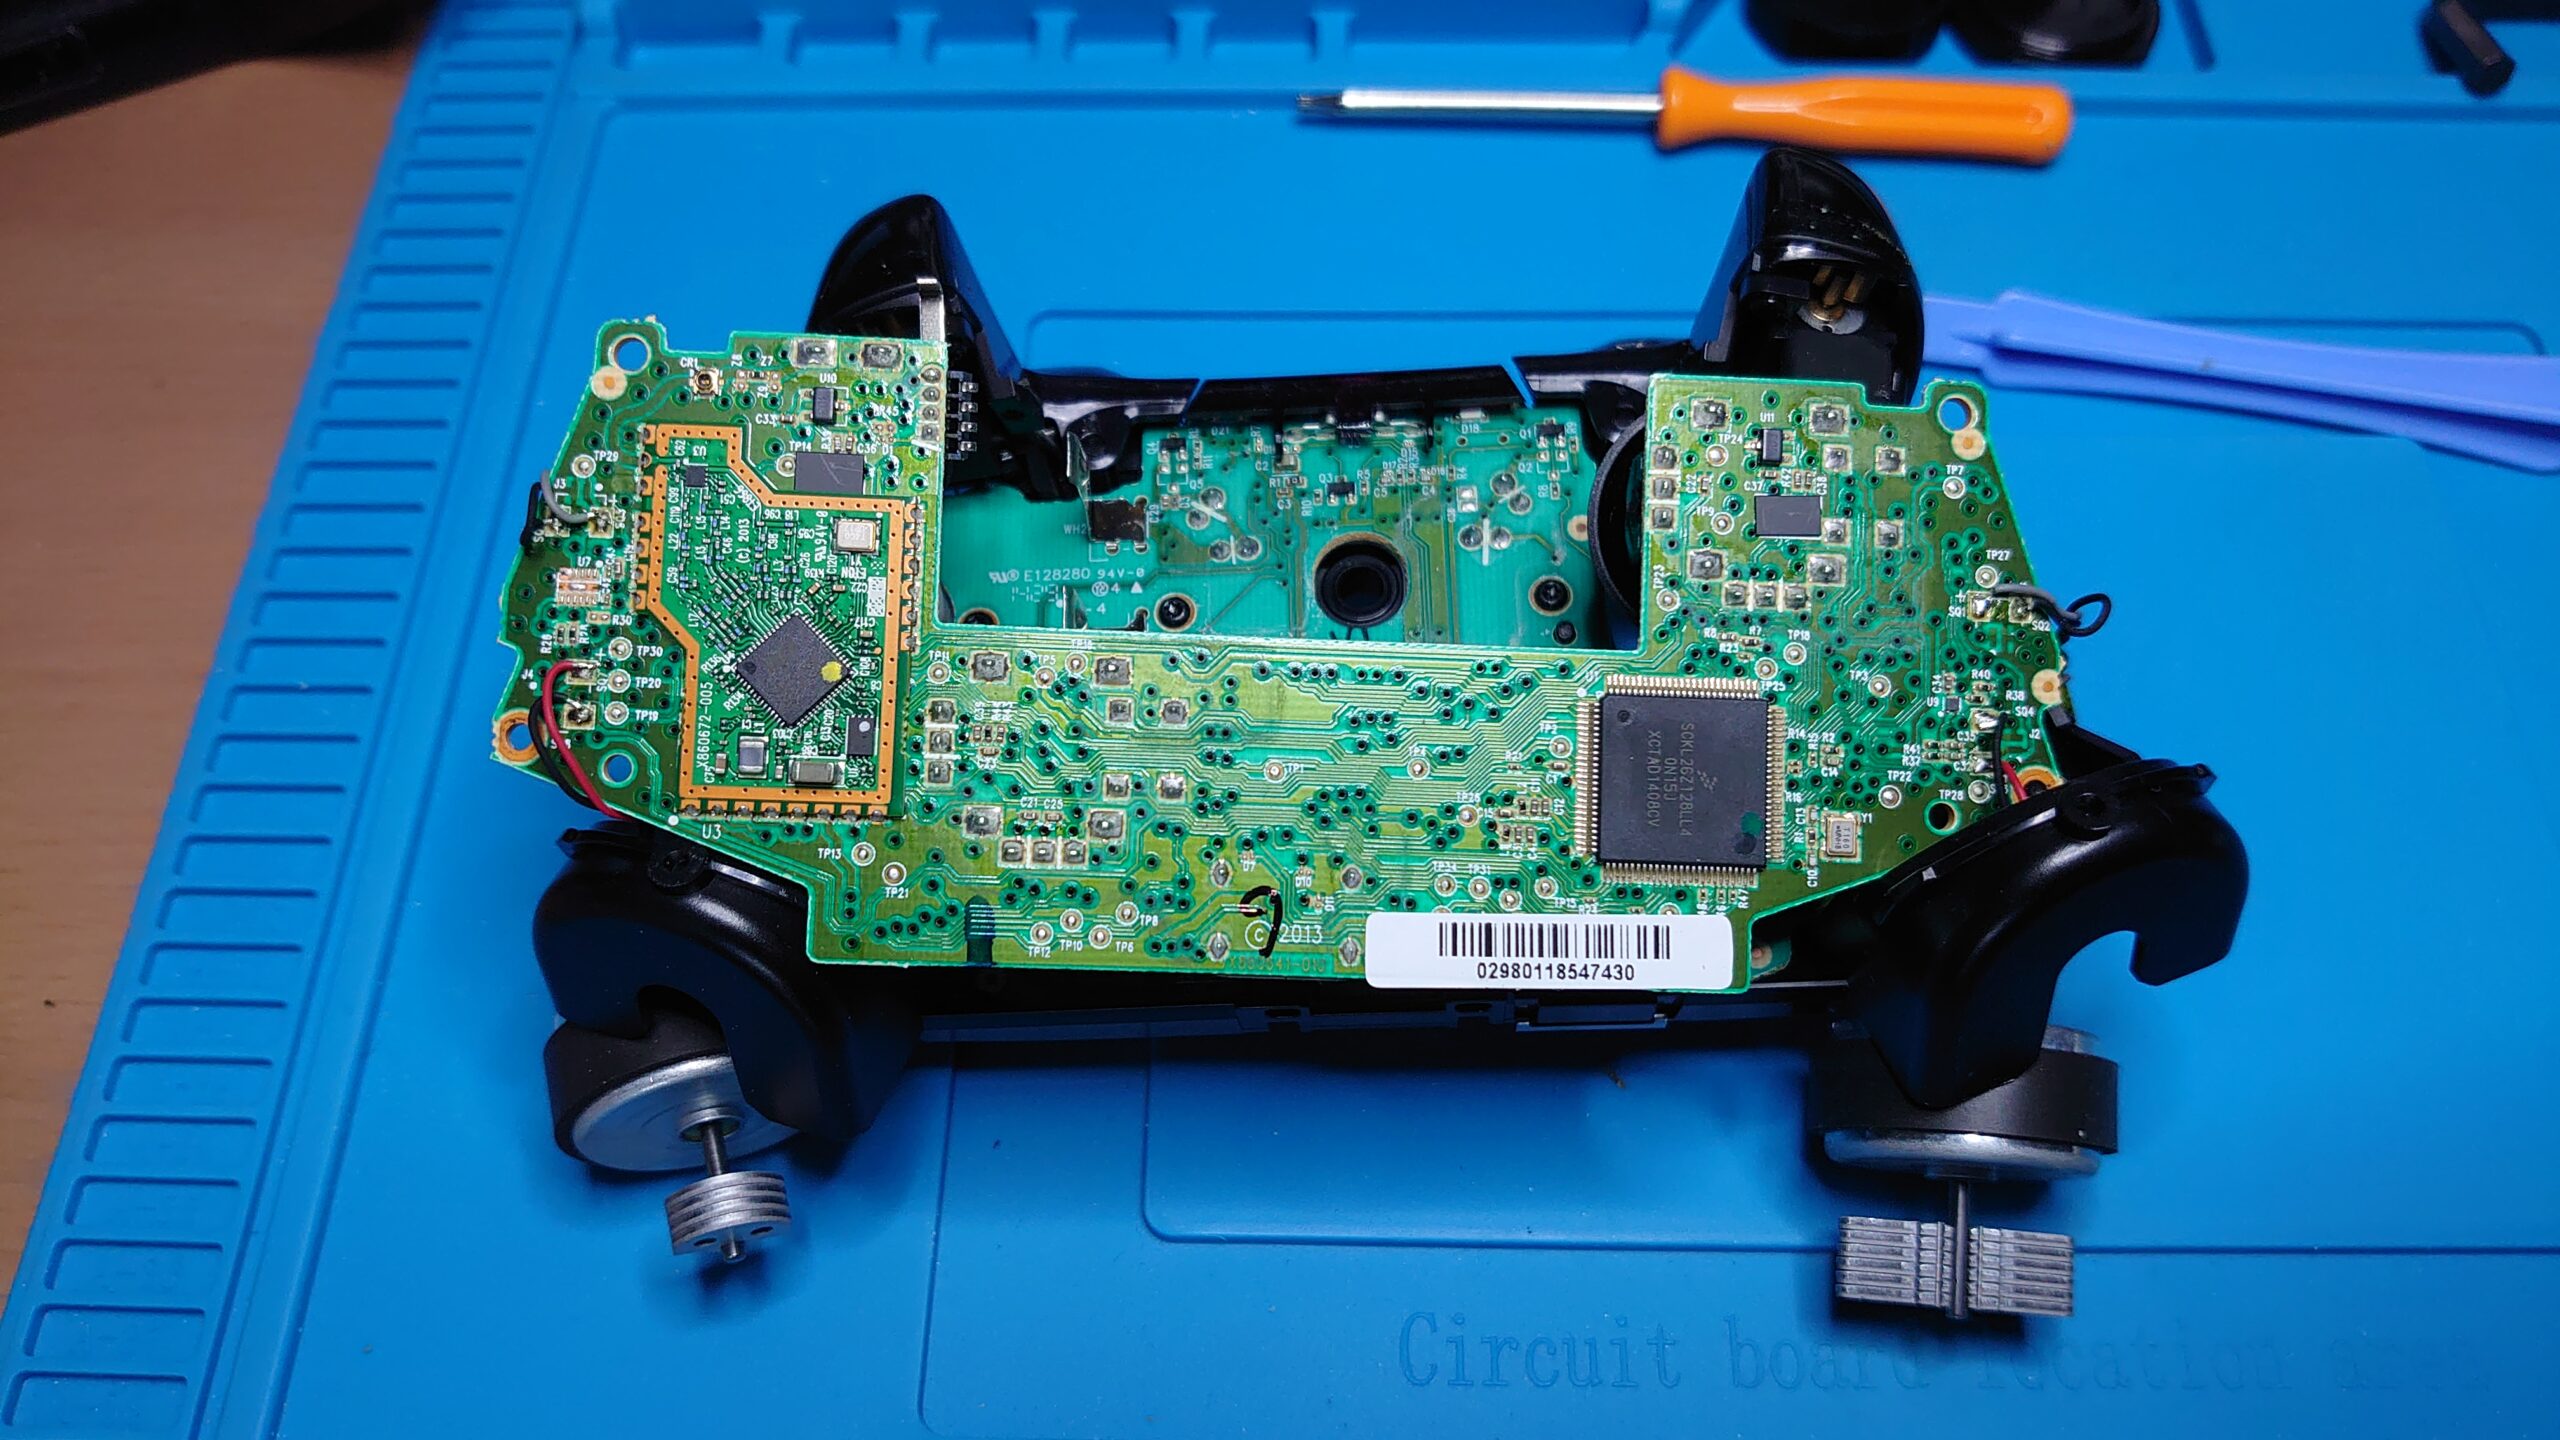
The 2nd board is held in place by the black clamp with the XBOX button/logo inside. You have to firmly grab it from the front and pull it over the edge for the board (and buttons) to come free. In my opinion this required a slightly uncomfy amount of force, but it eventually all came loose.
Replacing the LB/RB buttons
Even though only one button might have died, I’d recommend to replace both of them while you are in there. Not only because the new ones might have a slightly different tactile behavior / sound, but also because the remaining one also probably had a comparable number of button presses and might also die shortly after. At the end of the day those buttons only cost a few cents.
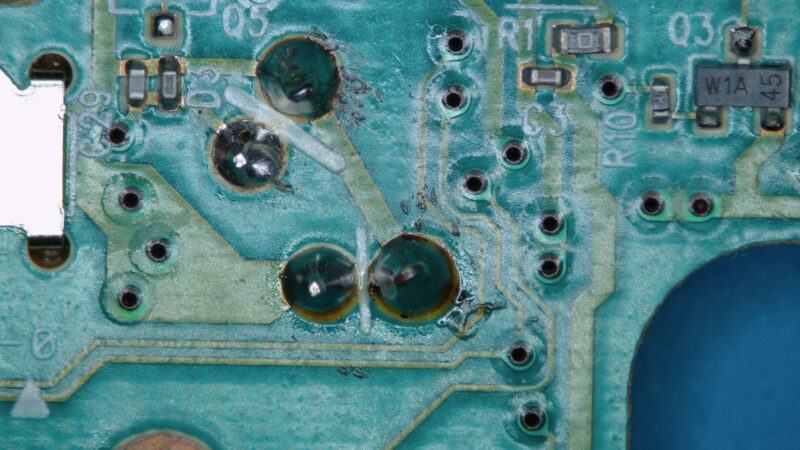
Using desodering wick is really simple. It is covered with flux, so it literally sucks the solder out, when heat is applied (330°C). I found out that this works much better with a bigger soldering tip that can transfer the heat better that a small one. If you use a desoldering pump, you have to heat up the soldering point and quickly suck on the joint afterwards. Also not difficult. You might have to repeat this a couple of times until it is all gone and the button comes out easily.

old controller button 
desoldered button 
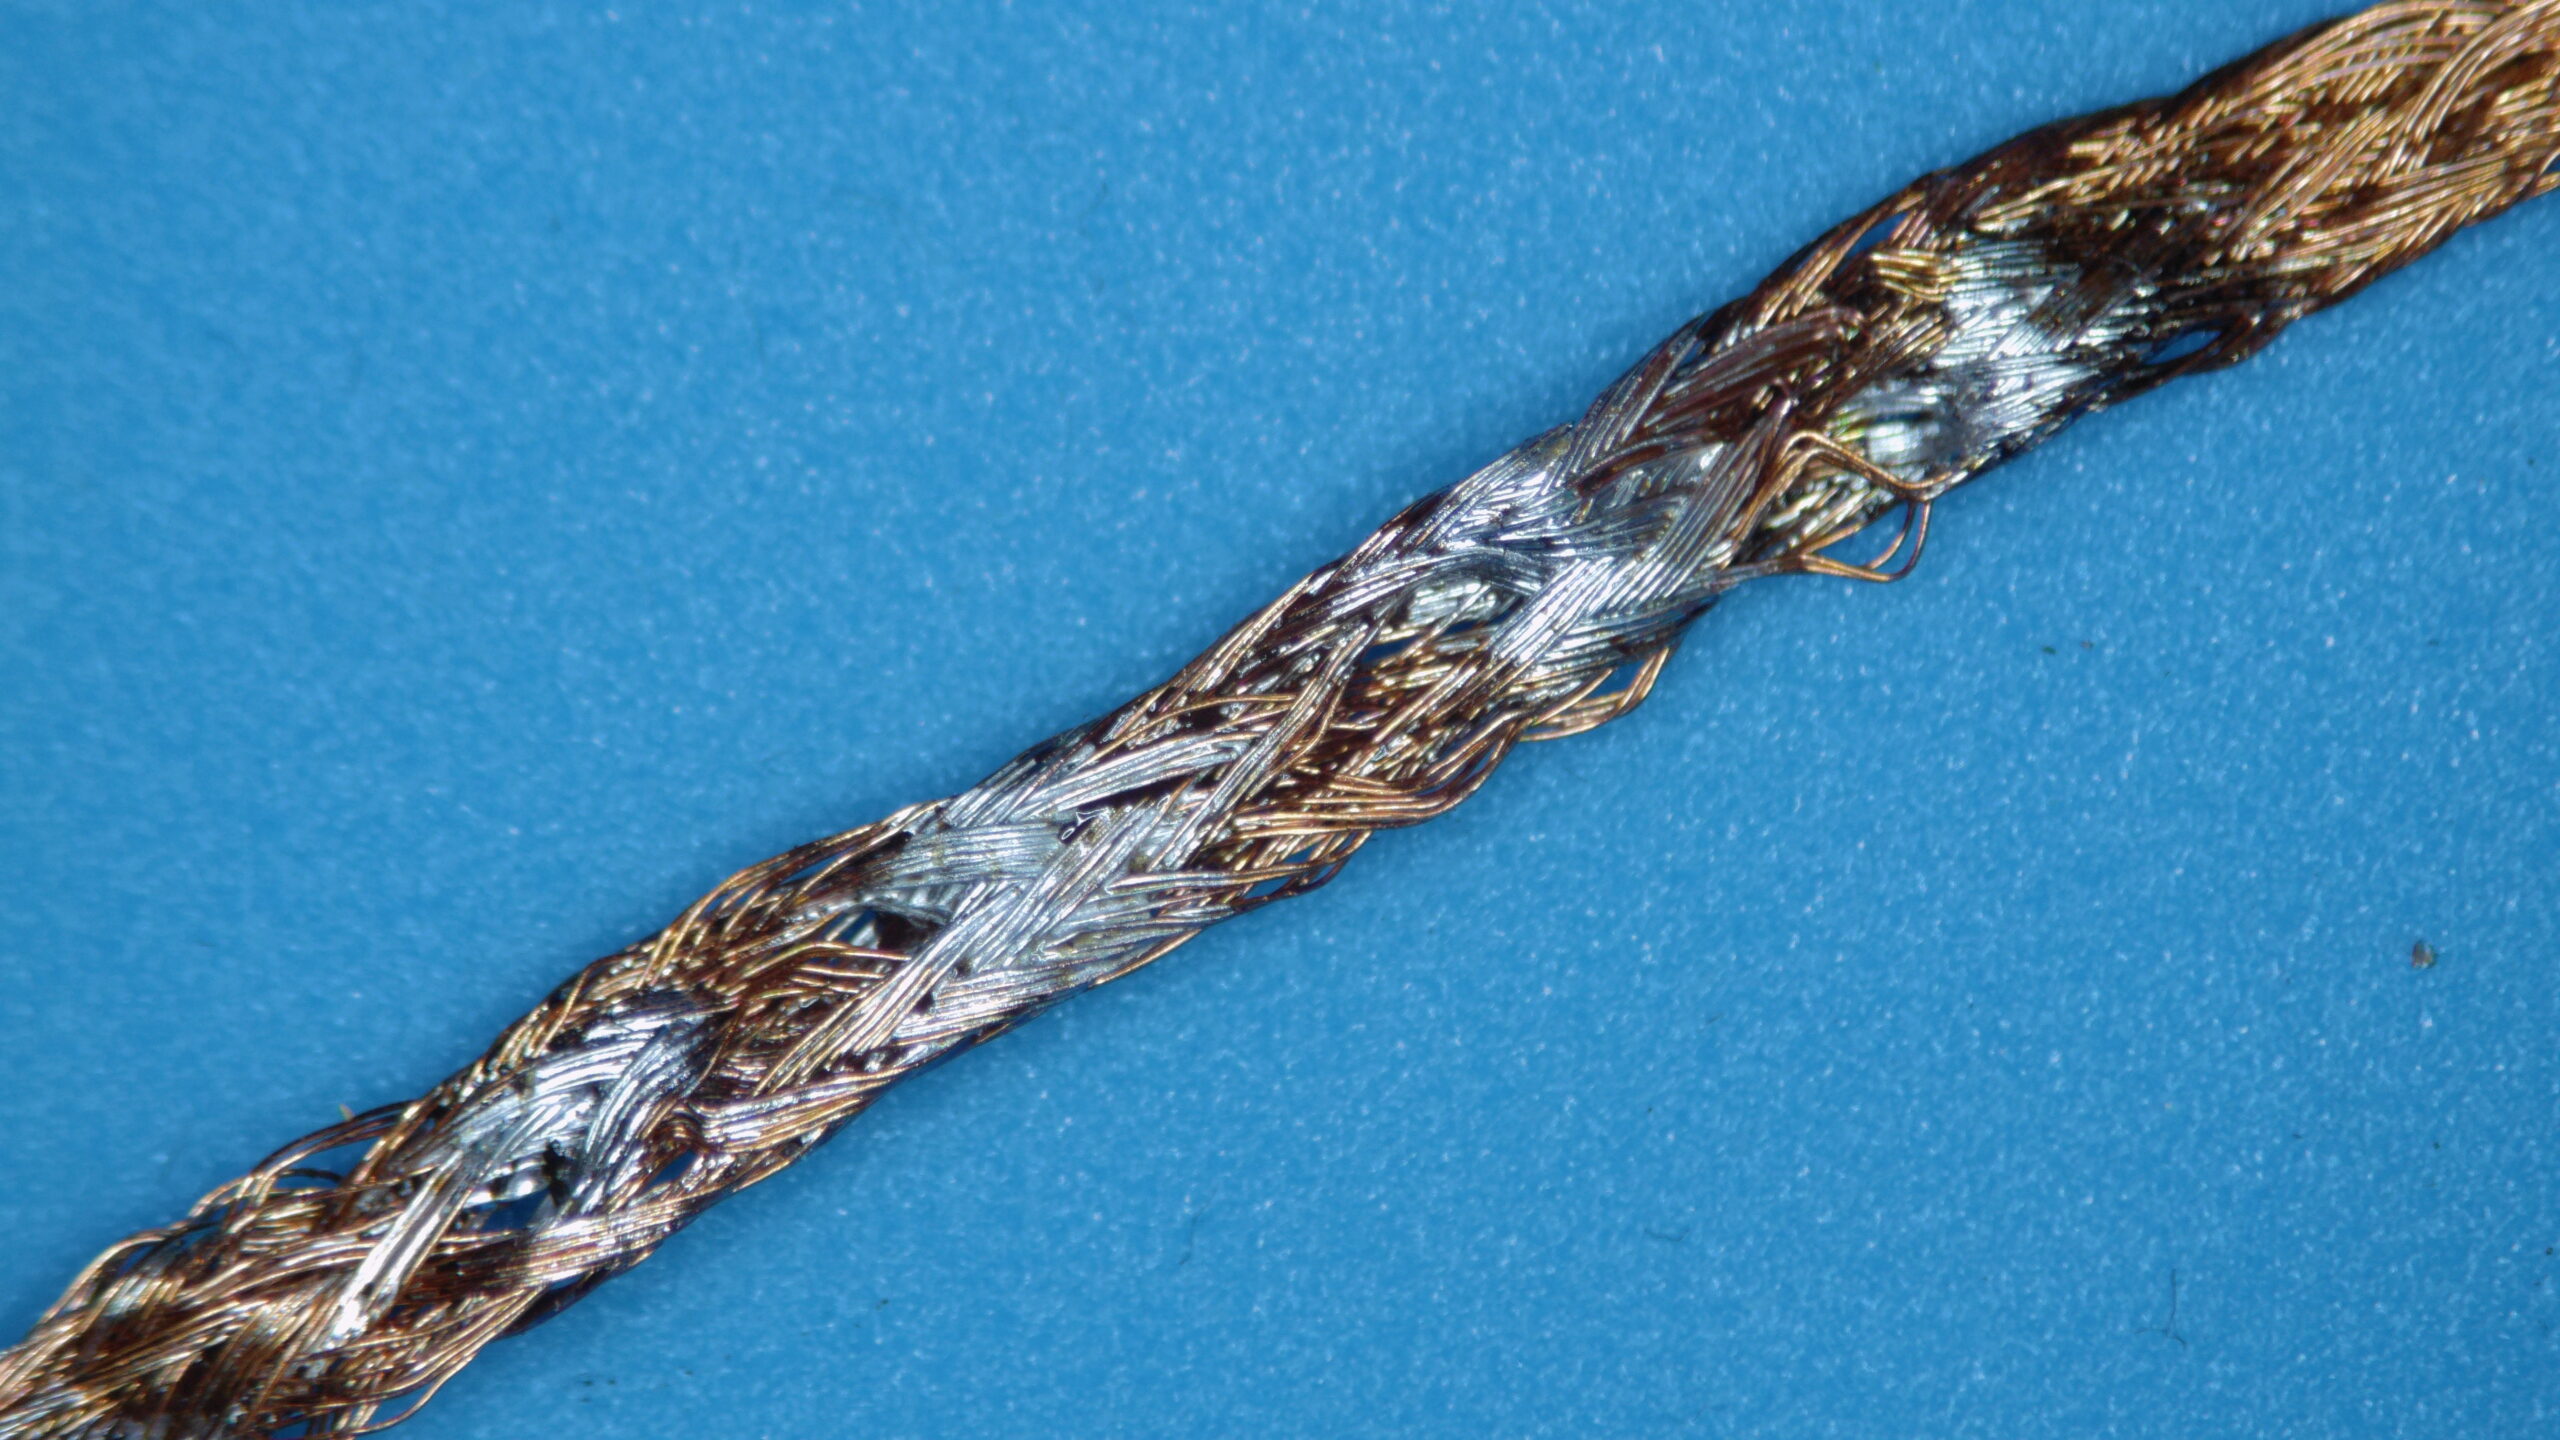
used de-soldering wick 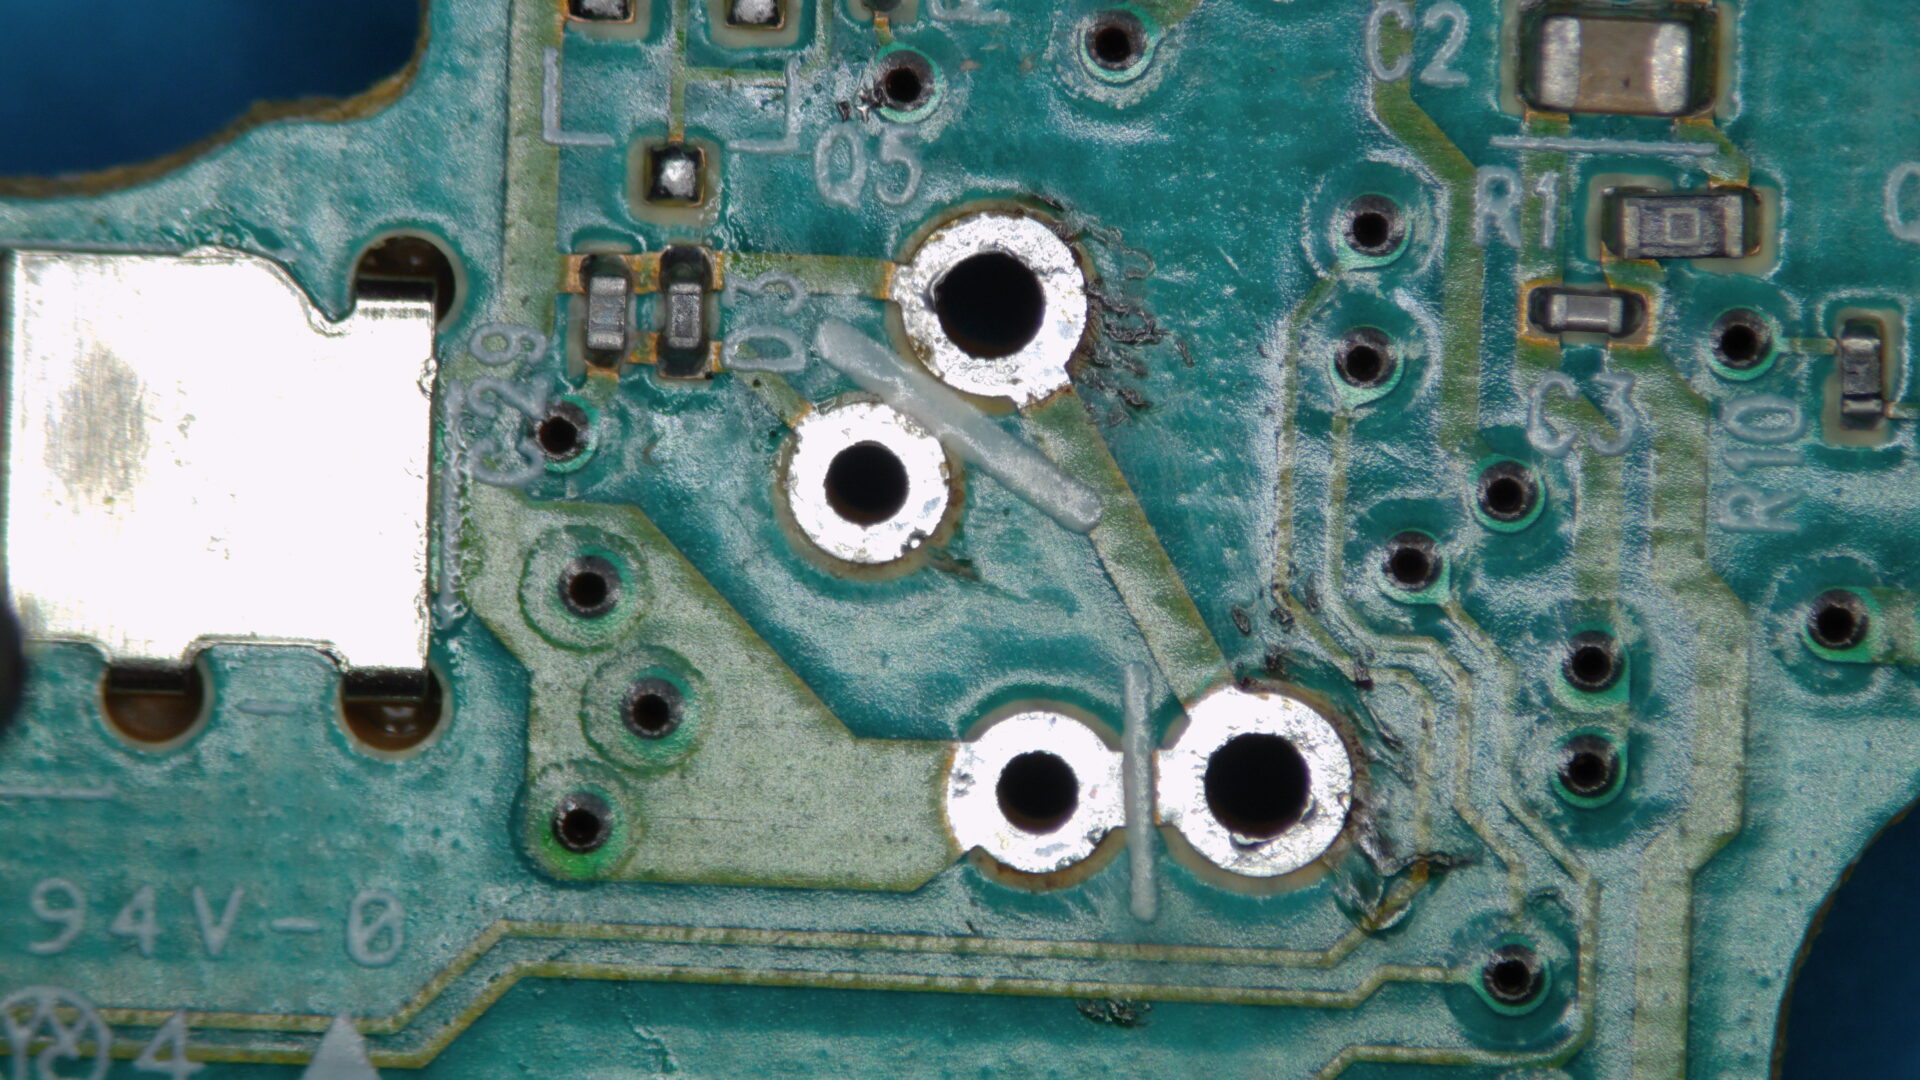
cleaned button pads

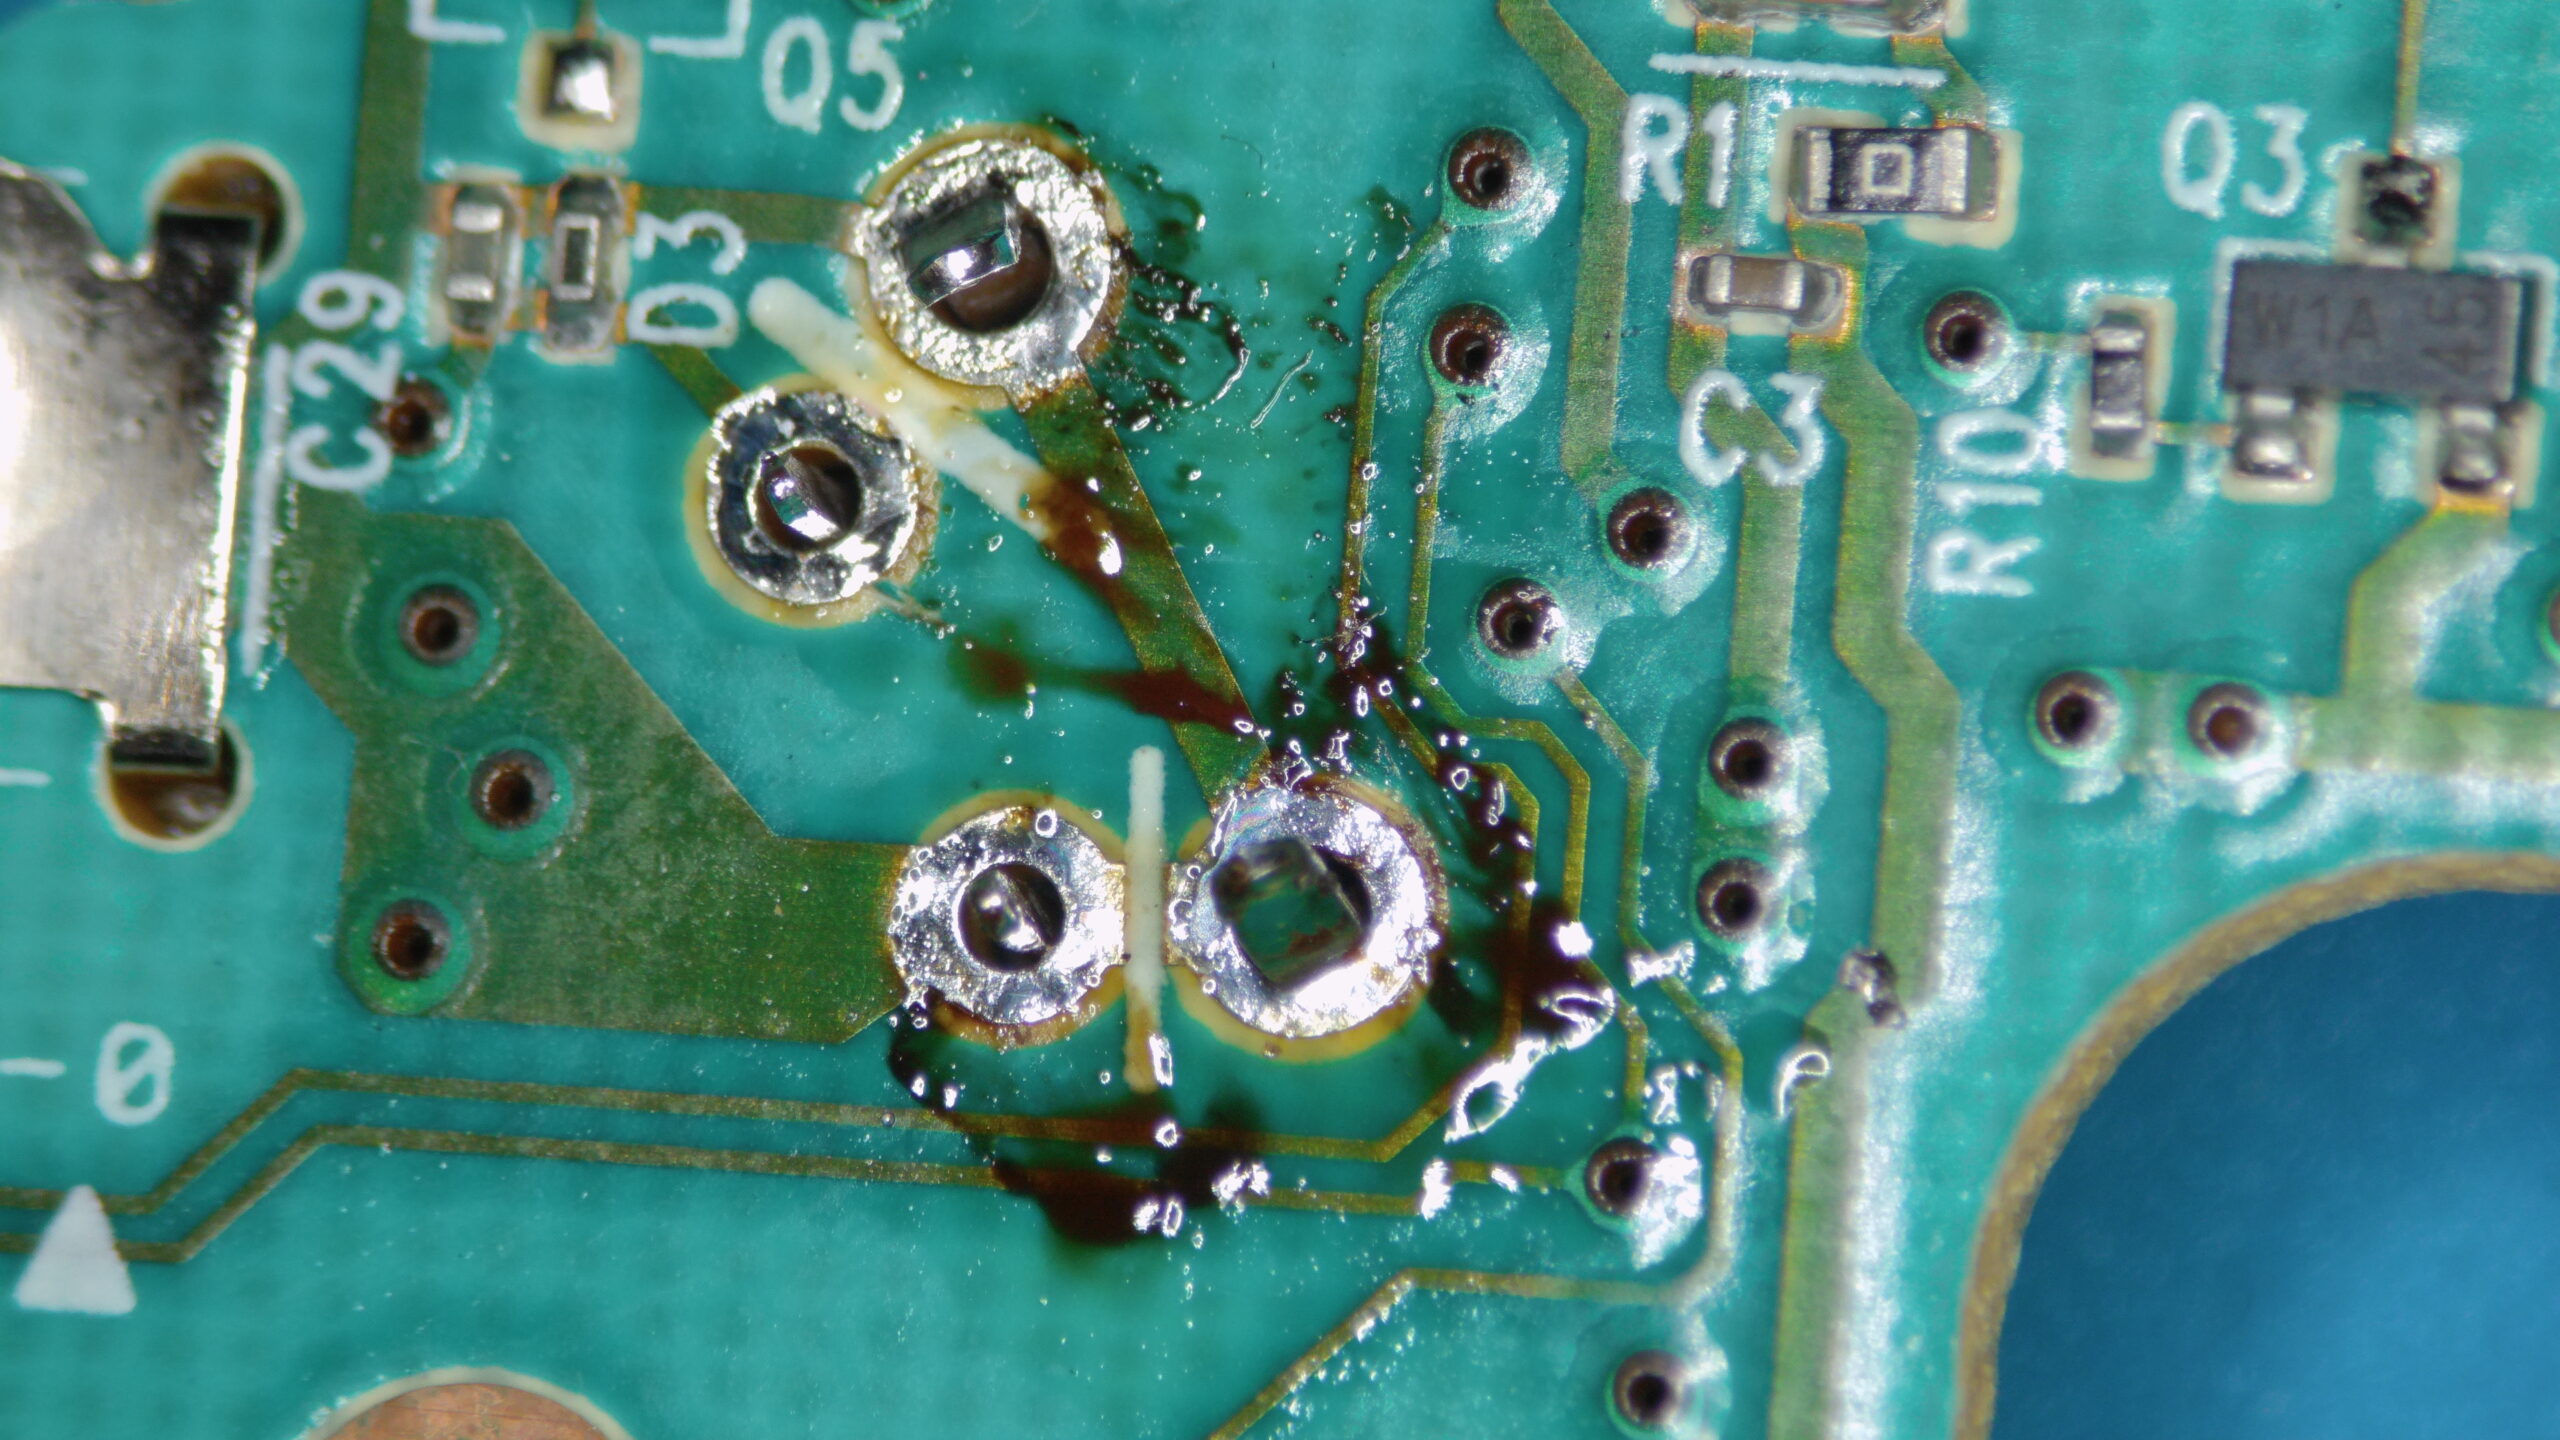

These close-ups were made using a Chinese HDMI/USB/SD-card enabled microscope. It’s absolutely not necessary to proof your work with a 100x magnification. But I had it ready to use on my bench/desk, so I wanted to share those pictures.
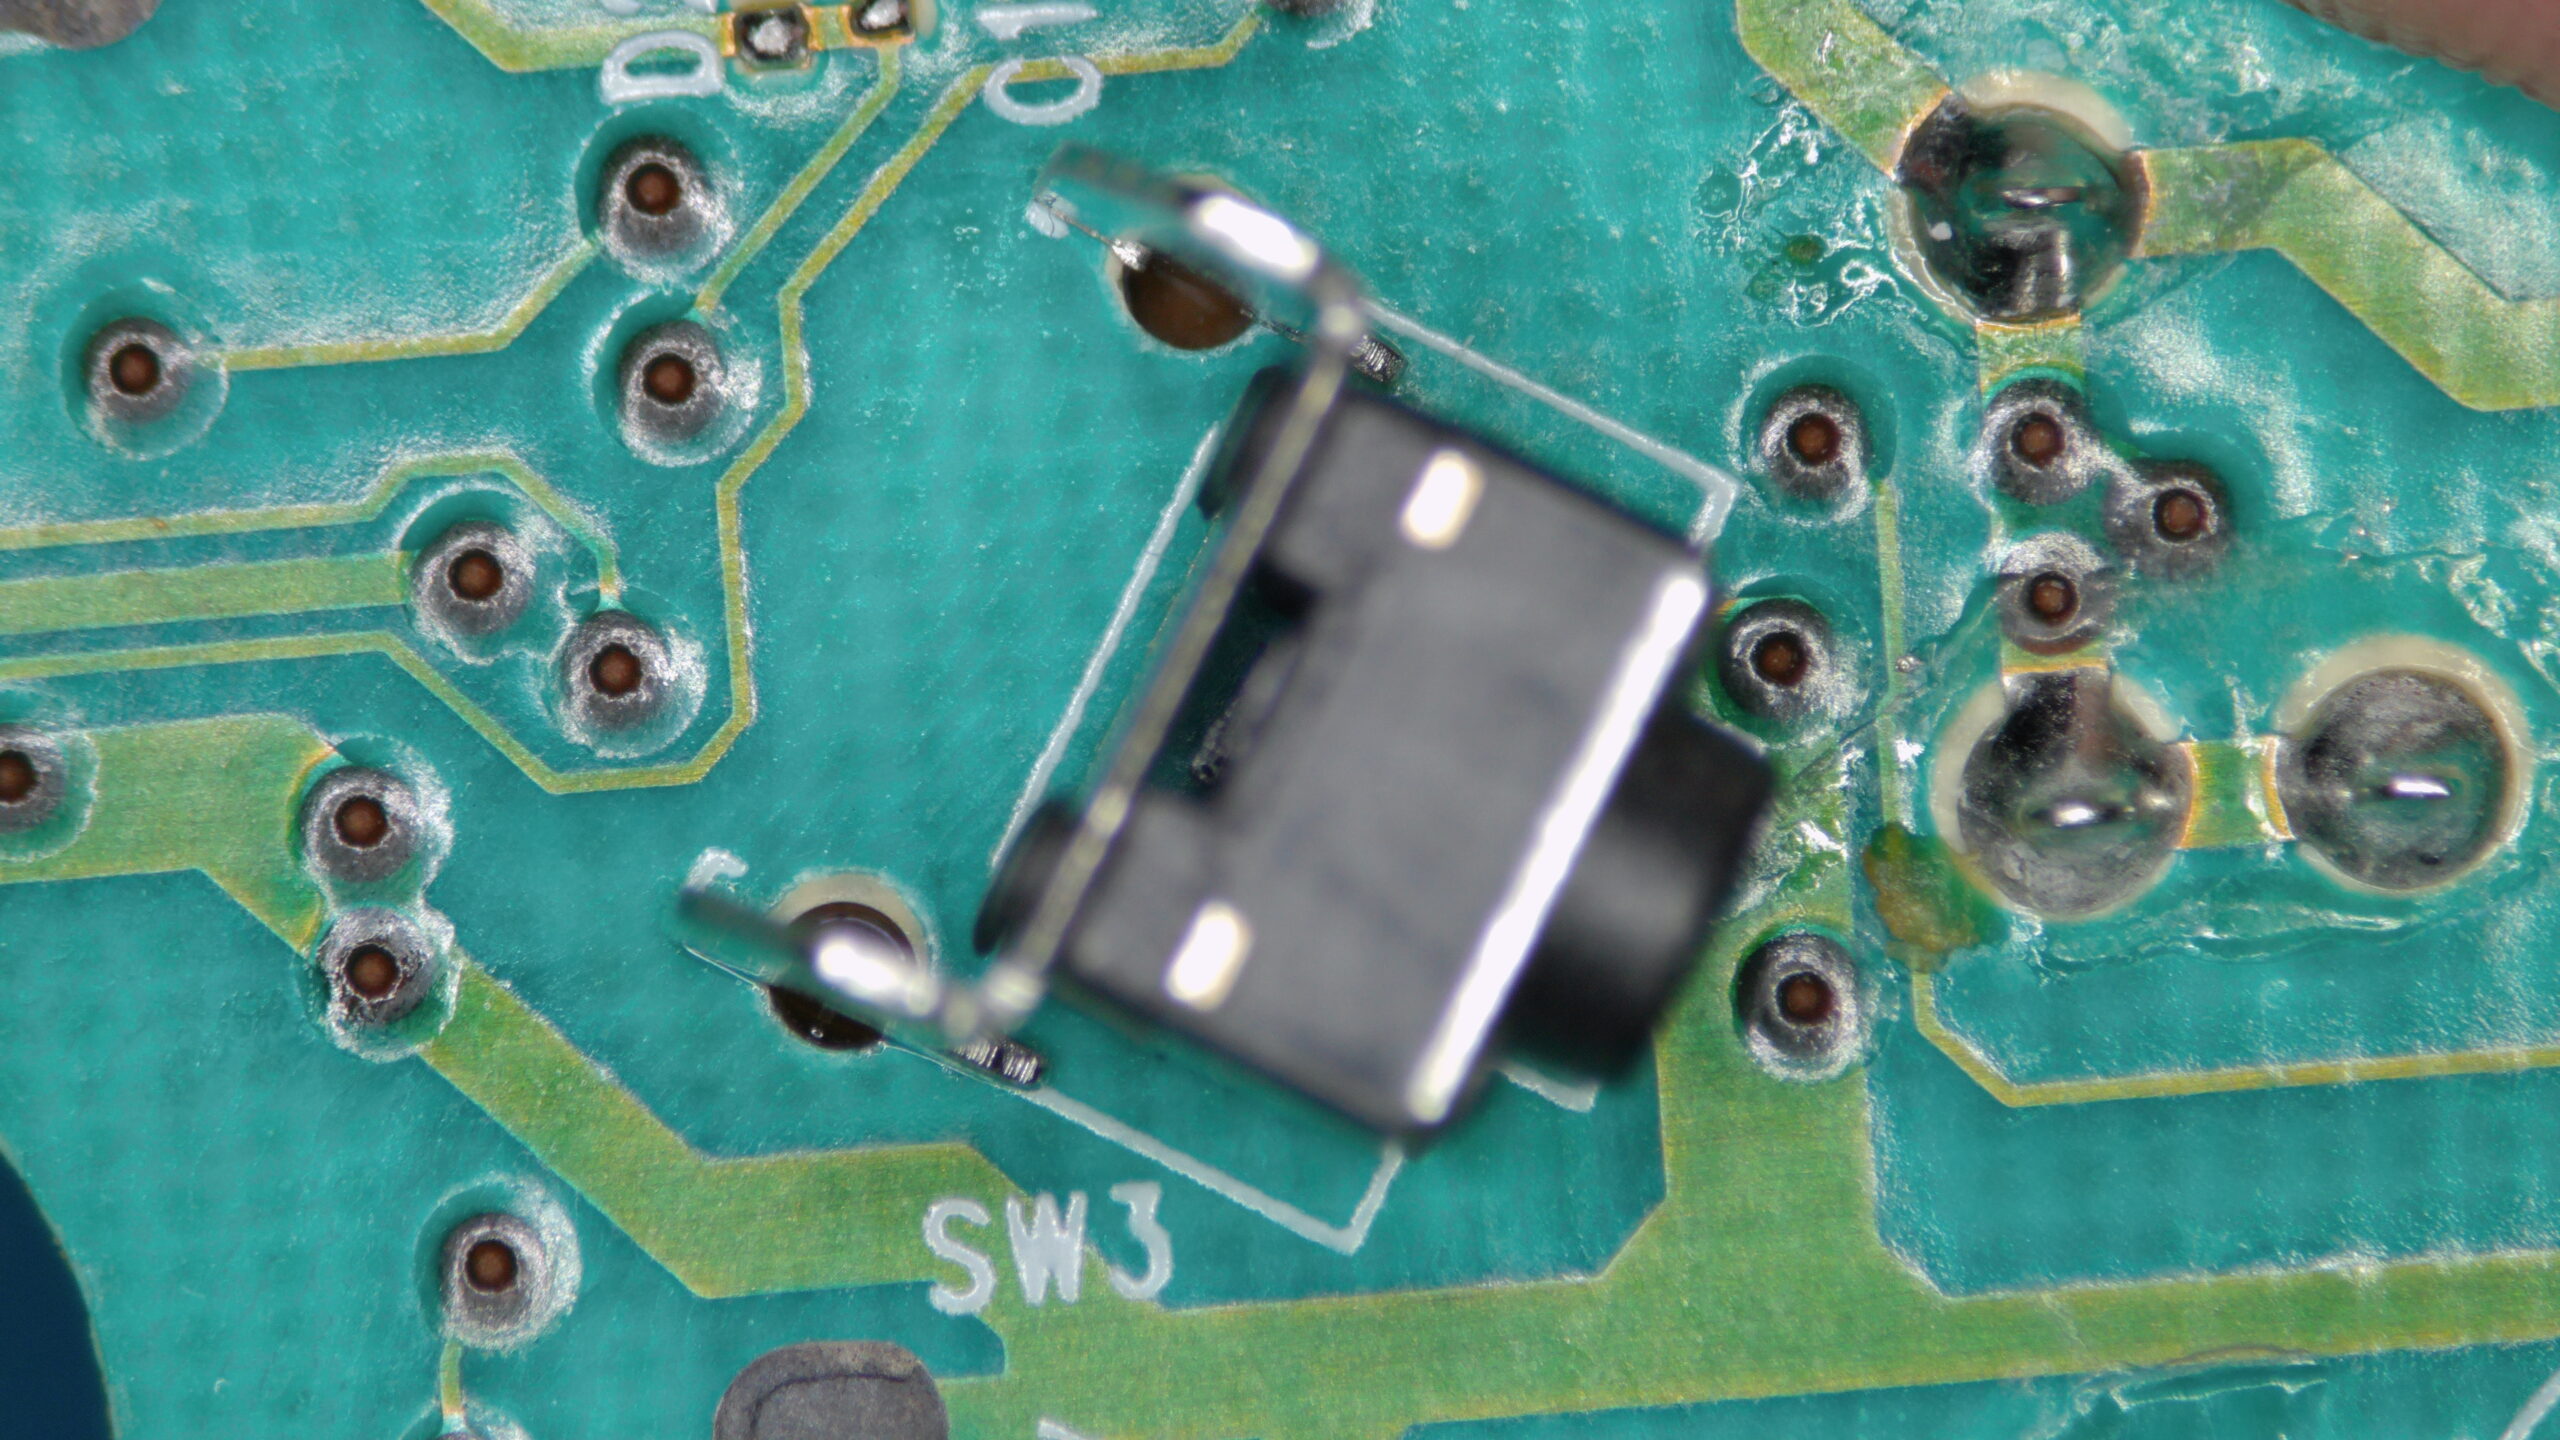
Getting the new switch in, is now the easy part. I’d recommend to tag only one leg, and then double check the button is well aligned to the PCB. When everything is ok, apply solder to the remaining 3 legs and you are done.
new button soldered in 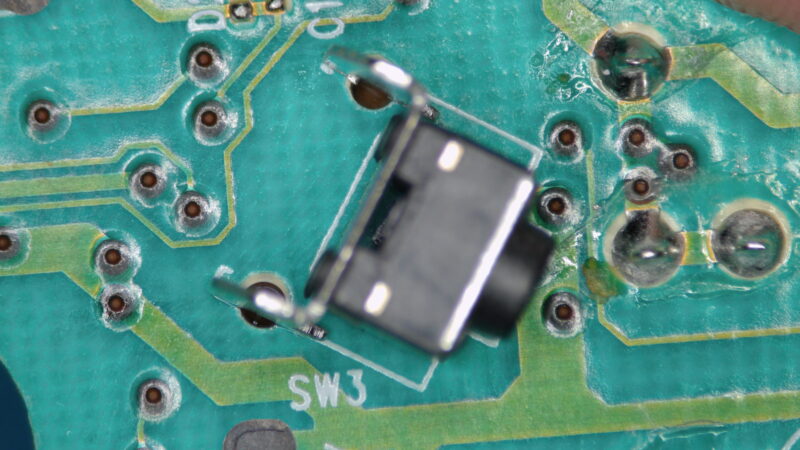
new button from above

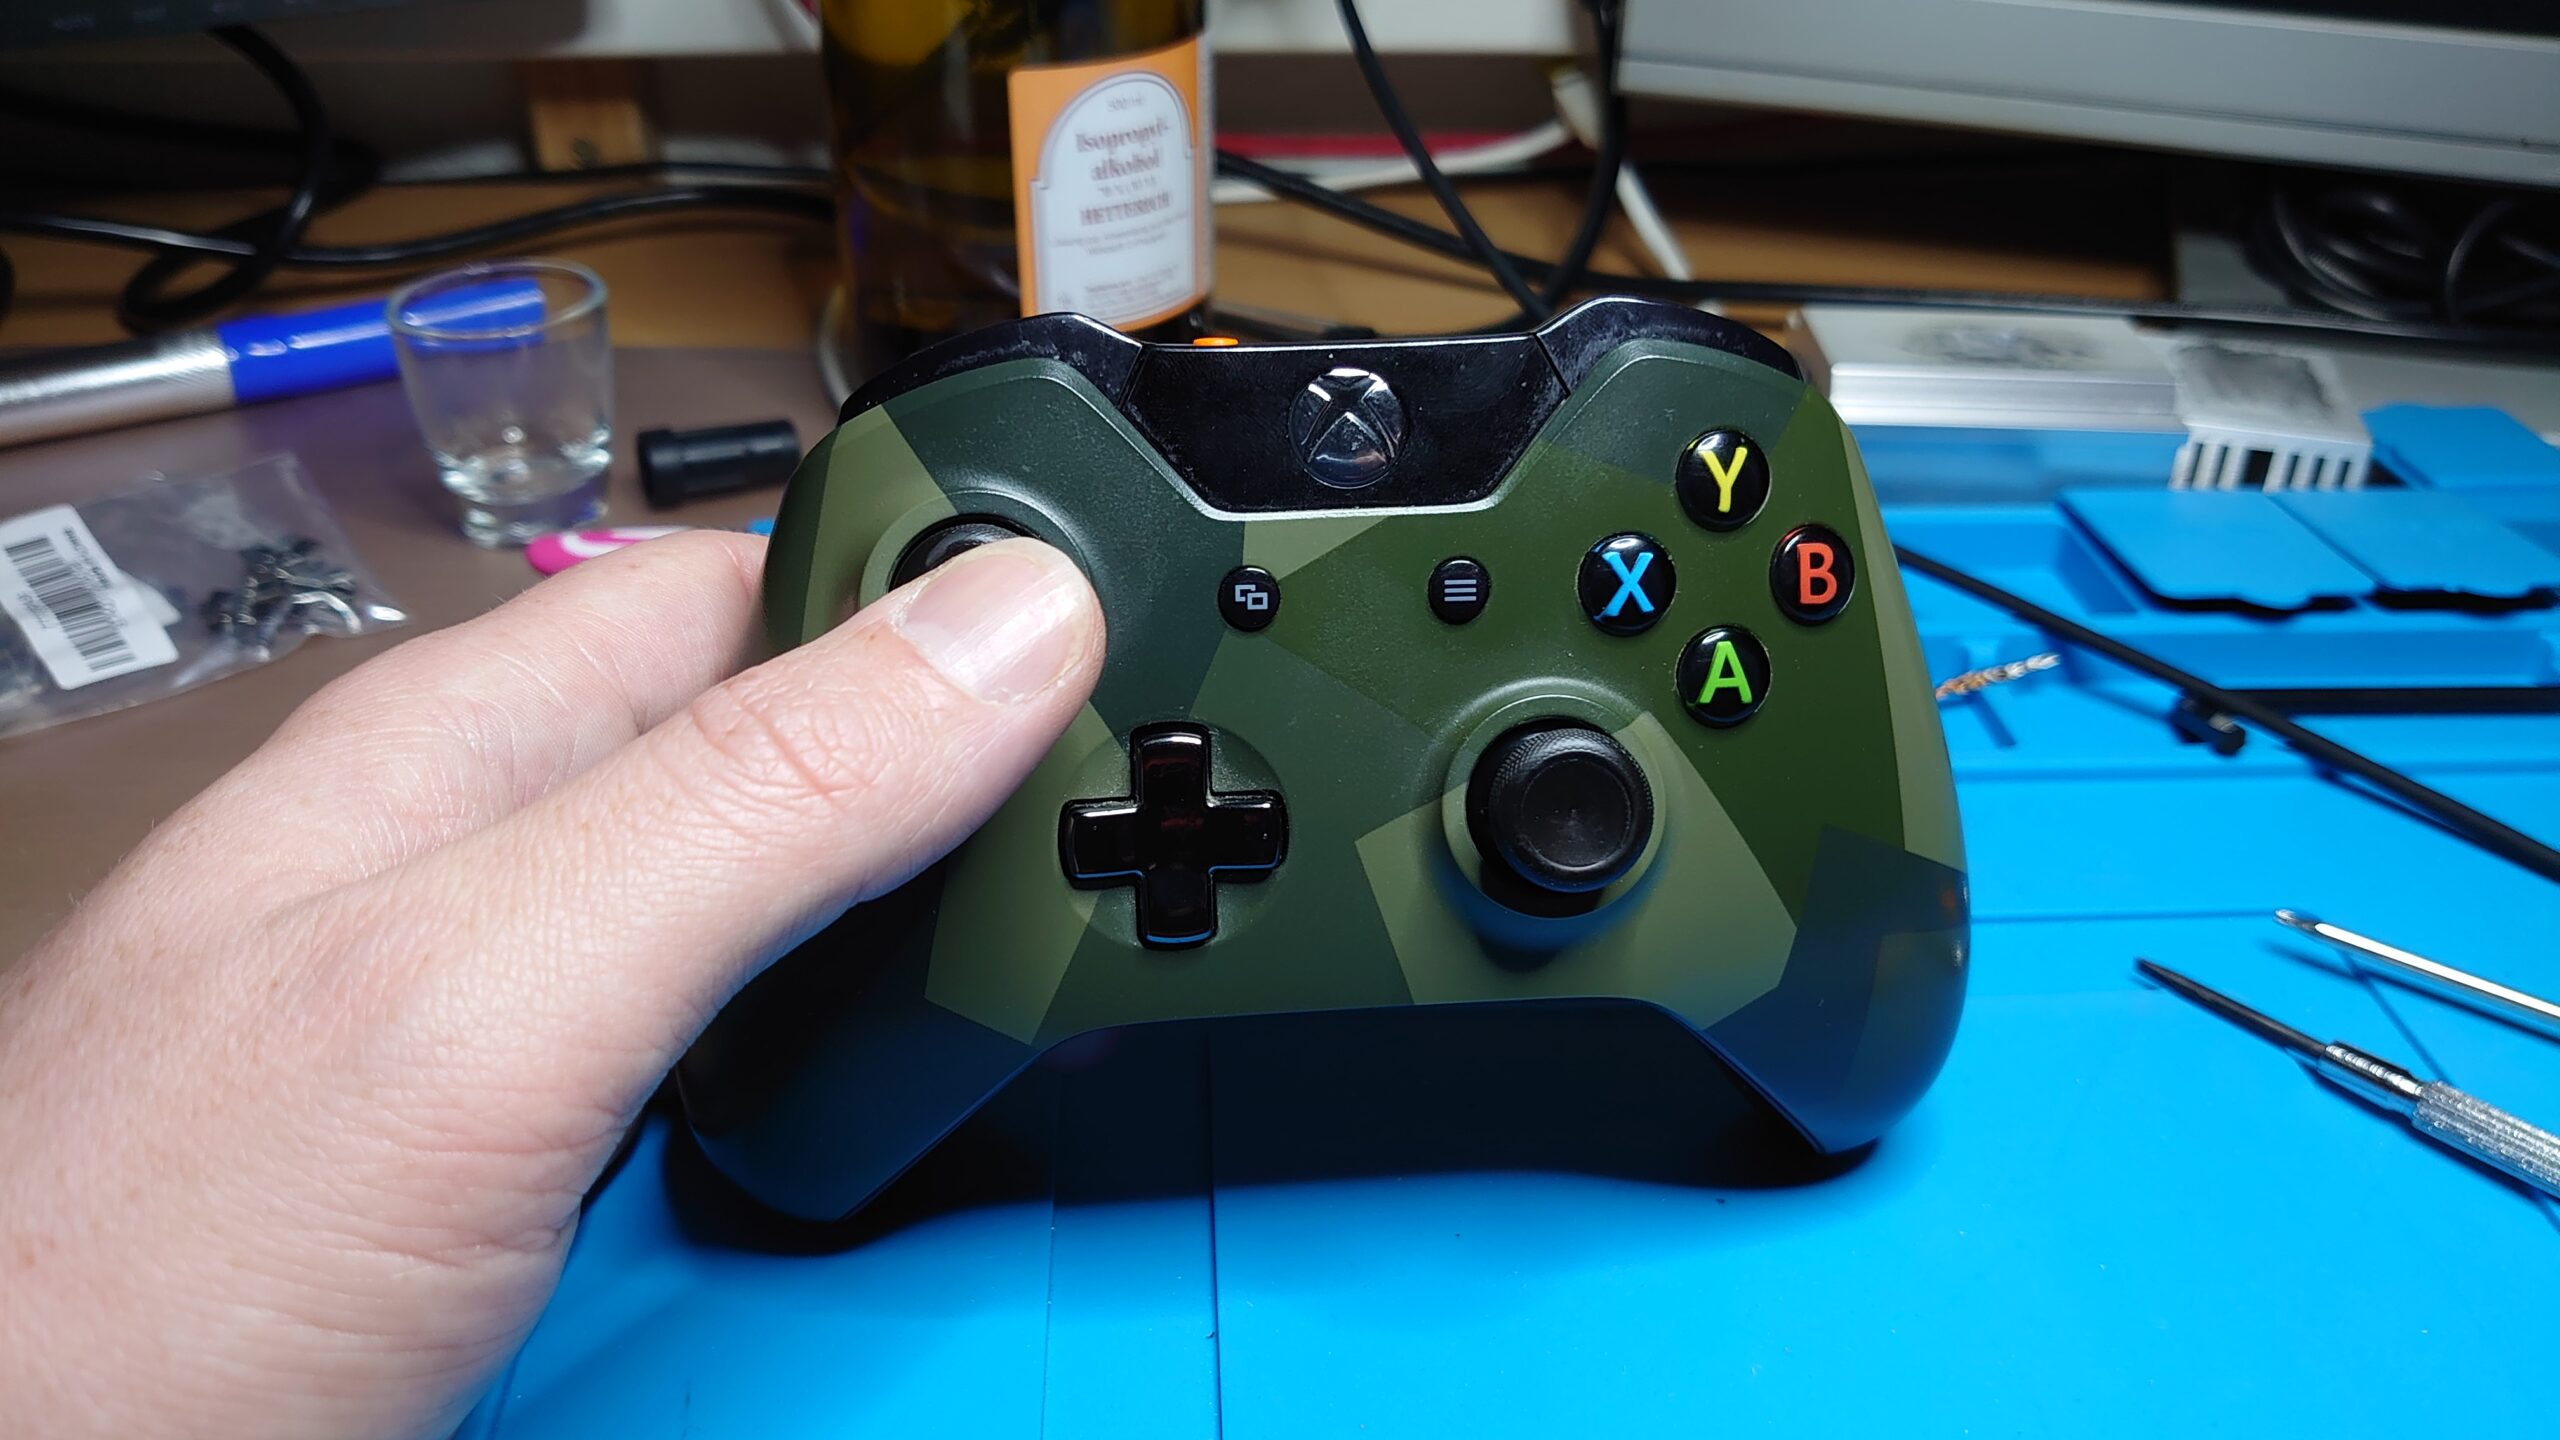
Reassemble the controller and test it
Now all you have to do is to reverse the process and reassemble the controller and test its functionality. I noticed the LB/RB buttons tend to stay in the pressed state when you test it while disassembled. This happens because the triggers come out further than they do when the are enclosed by the outer shell. So don’t worry, it should work fine when everything is assembled again.
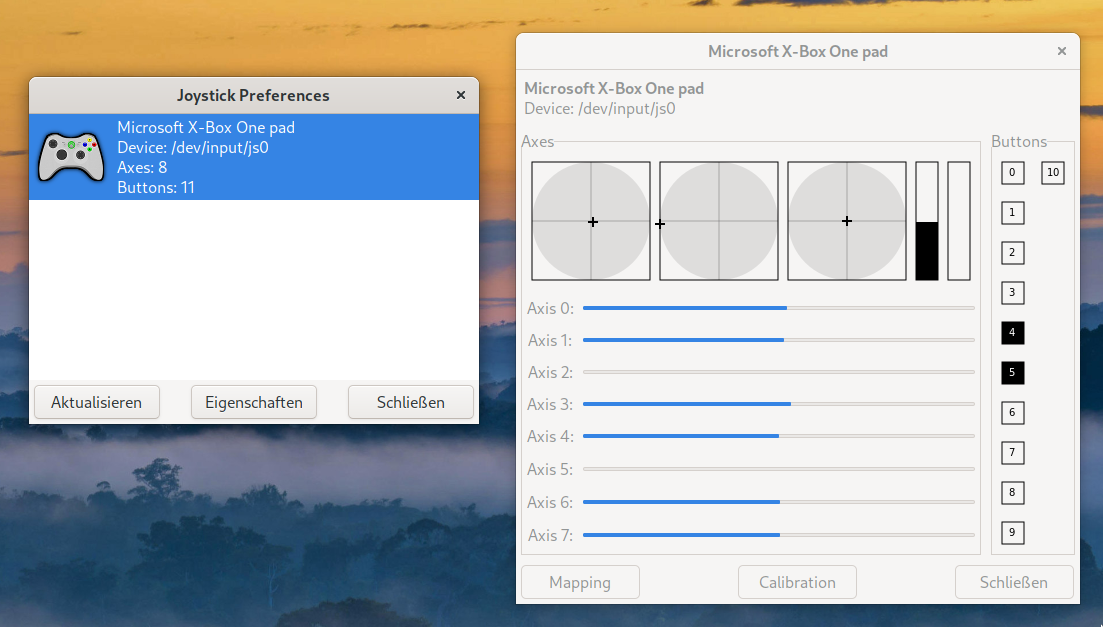
For testing I used the jstest-gtk program which can be found in most common Linux distributions. There is also a flatpak available if you are in to flatpaks.
Für das neue PC-Spiel mit dem Spinnen-Mann (08/2022) brauchte ich mal wieder einen Controller.
Mit Tastatur/Maus macht es kaum Spass und man hat es in den Kämpfen sehr schwer gegen die Bösewichte.
Ich hatte früher schon einge Controller (preiswert bis mittel-teuer), und habe mich immer über irgendetwas geärgert. Zu klein für meine Hände und/oder gab es in Null-Komma-Nix fiese Druckstellen. Die Rüttel-Motoren ging schnell kaputt, insgesamt billige Materialien oder unzuverlässige kabellose Verbindungen…
Das Ding hier ist einfach Königsklasse.
Alles funktioniert, man kann die Knöpfe austauschen (größer, kleiner höher, tiefer) und alle oben beschriebenen Mängel sind eben nicht da.
In dem tollen Case kann man den Controller bzw. den Akku auch sehr stylish laden.
Ja, nicht billig, aber aus meiner Sich preiswert. („Den Preis wert!“)